For this Creating VSIX Setup using WiX, imagine scenarios below:
I want to install VSIX file using MSI installer. If the machine HAS VS2012 installed, then it must install the VSIX file. Otherwise, it just put the file into Program Files directory ( this is the default action ).
I will split Creating VSIX Setup using WiX into two posts. In this first part, we just put the VSIX file into Program Files directory. In part 2, we are going to use VsixPackage syntax to install it. And in this post, we still use MyProductSetup solution. So, please read previous posts before this 😉
- Open MyProductSetup solution.
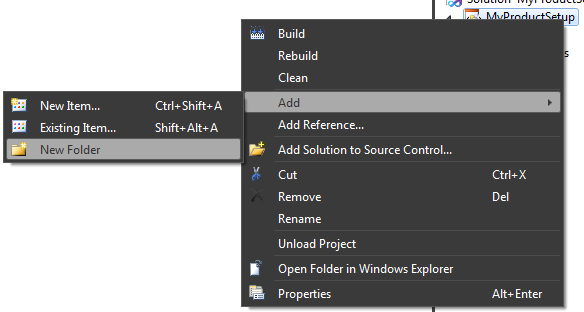
- Right click MyProductSetup project, add New Folder.
- Name it: Components.
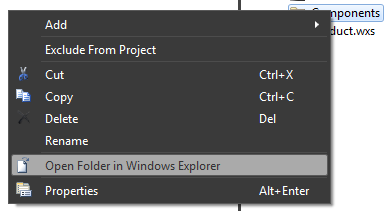
- Right click Components, select Open Folder in Windows Explorer.
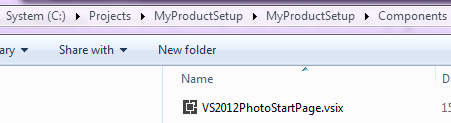
- Copy VSIX file into this folder. For this post, I used VS2012 Photo Start Page. Download from here.
- Back to Visual Studio, in line 20, modify TARGETDIR.
<Directory Id="TARGETDIR" Name="SourceDir">
  <Directory Id="ProgramFilesFolder">
	<Directory Id="MyCompany" Name="My Company">
	  <Directory Id="INSTALLFOLDER" Name="My Product" />
	</Directory>
  </Directory>
</Directory>
So the structure in Program Files will be: Program Files\My Company\My Product\[FILES]
- In ComponentGroup, add new component.
<Component>
  <File Id="VS2012PhotoStartPage.vsix" Source="$(var.ProjectDir)\Components\VS2012PhotoStartPage.vsix" />
</Component>
- And this is full Product.wxs content.
<?xml version="1.0" encoding="UTF-8"?> <Wix xmlns="http://schemas.microsoft.com/wix/2006/wi"> <Product Id="*" Name="My Product Utilities" Language="1033" Version="1.0.0.0" Manufacturer="Microsoft" UpgradeCode="a7b18f17-63cc-486a-98f8-04ce4cd016fd"> <Package InstallerVersion="200" Compressed="yes" InstallScope="perMachine" /> <Icon Id="MyProduct.ico" SourceFile="$(var.SolutionDir)..\Images\MyProduct.ico" /> <Property Id="ARPPRODUCTICON" Value="MyProduct.ico" /> <MajorUpgrade DowngradeErrorMessage="A newer version of [ProductName] is already installed." /> <MediaTemplate /> <Feature Id="ProductFeature" Title="MyProductSetup" Level="1"> <ComponentGroupRef Id="ProductComponents" /> </Feature> </Product> <Fragment> <Directory Id="TARGETDIR" Name="SourceDir"> <Directory Id="ProgramFilesFolder"> <Directory Id="MyCompany" Name="My Company"> <Directory Id="INSTALLFOLDER" Name="My Product" /> </Directory> </Directory> </Directory> </Fragment> <Fragment> <ComponentGroup Id="ProductComponents" Directory="INSTALLFOLDER"> <Component> <File Source="$(var.SolutionDir)..\MyProduct\Utilities\bin\$(var.Configuration)\Utilities.dll" Assembly=".net" /> </Component> <Component> <File Id="VS2012PhotoStartPage.vsix" Source="$(var.ProjectDir)\Components\VS2012PhotoStartPage.vsix" /> </Component> </ComponentGroup> </Fragment> </Wix> - Build the solution ( Ctrl + Shift + B ).
- Open C:\Projects\MyProductSetup\MyProductSetup\bin\Debug.
- Double click MyProductSetup.msi to install it.
- Open C:\Program Files (x86)\My Company\My Product.
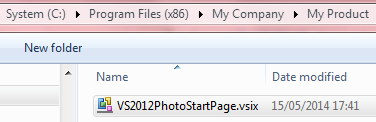
VS2012PhotoStartPage.vsix stays here. - Back to C:\Projects\MyProductSetup\MyProductSetup\bin\Debug again.
- Right click MyProductSetup.msi, select Uninstall.
- Are you sure you want to uninstall this product? Yes.
- Open Program Files once again. My Company folder will be removed from there.
Okay. That’s all for Creating VSIX Setup Using WiX part I. The VsixPackage syntax is waiting for us in the next part 😀
Leave a Comment