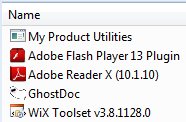
From previous post, we might notice if there was a missing thing in our My Product installer. Open Programs and Features, compared with another installed programs.
This is it! The ICON. WiX manual says:
Windows Installer supports a standard property, ARPPRODUCTICON, that controls the icon displayed in Add/Remove Programs for your application. To set this property you first need to include the icon in your installer using the Icon element, then set the property using the Property element.
And here we go.
- Open Windows Explorer, C:\Projects.
- Create new folder, name it Images.
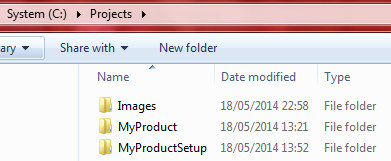
- Open Images folder, put file with .ico extension and name it MyProduct.ico

- Open MyProductSetup solution.
- In line 6, add codes below:
<Icon Id="MyProduct.ico" SourceFile="$(var.SolutionDir)..\Images\MyProduct.ico" />
<Property Id="ARPPRODUCTICON" Value="MyProduct.ico" />
- Build the solution ( Ctrl + Shift + B ).
- Install MyProductSetup.msi again.
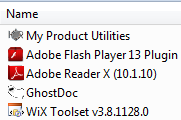
- Now, if we go to Program and Feature, My Product Utilities and its icon.
It’s done. Setting Installer’s icon in WiX is a simple thing, eh? But probably most of us are too lazy to open the documentation file 😛
Leave a Comment