Imagine scenarios below:
I want to install my libary (.dll) into Global Assembly Cache (GAC). In order to do that, my .dll must be given a strong name key (.snk)
In this article, I’m going to share my understanding about .dll with .snk and after that installing dll to GAC.
- Open Visual Studio and select File – New – Project to create new project.
- In New Project form, select Templates – Visual C# – Class Library. In Name: Utilities, Solution name: MyProduct, and the project is located in C:\Projects\.
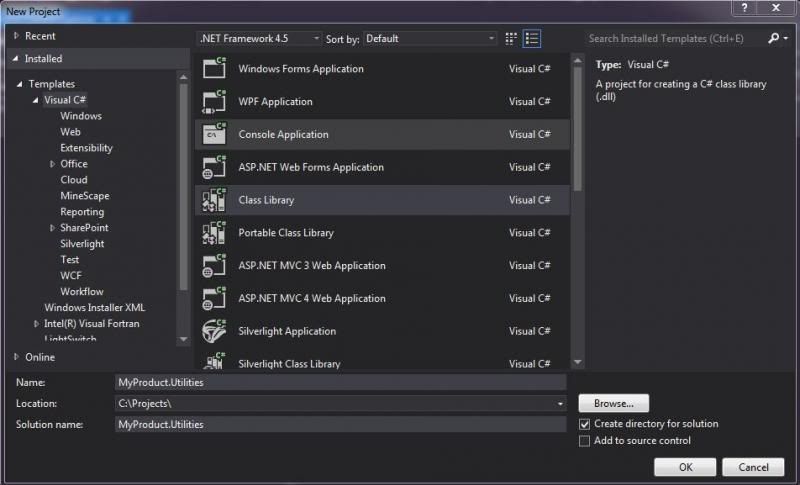
- Click Ok. MyProduct solution will be created and Class1.cs appears in VS.

- Right click Class1.cs in the Solution Explorer and rename it to StringExtension. Click Yes if confirmation box appears.
- Now we have StringExtension class.
- Add constant MyString to the code.
private const string MyString = "Im thrown from Utilities";
- Create method ReturnString that will return MyString.
public string ReturnString() { return MyString; } - And this is the full code.
namespace Utilities { /// <summary> /// Extension class for string /// </summary> public class StringExtension { /// <summary> /// My string /// </summary> private const string MyString = "Im thrown from Utilities"; /// <summary> /// Returns the string. /// </summary> /// <returns></returns> public string ReturnString() { return MyString; } } } - Build the solution ( Ctrl + Shift + B ).
- Now, try to take a look on the .dll
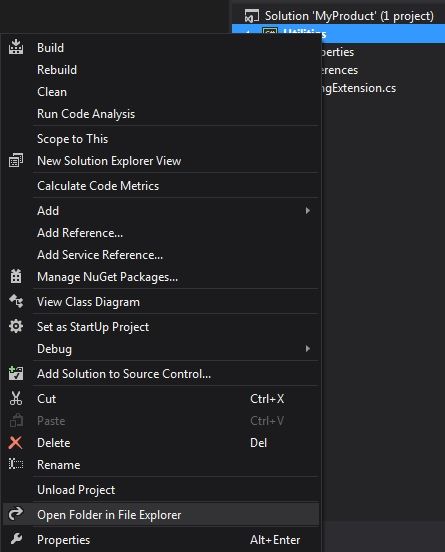
- Right click Utilities project, select Open Folder in File Explorer.
- Open bin directory.
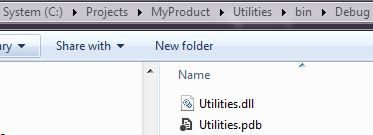
- Open Debug directory. That’s it! Our Utilities.dll stay there.
So far, we already created the .dll. Try to install this one into GAC.
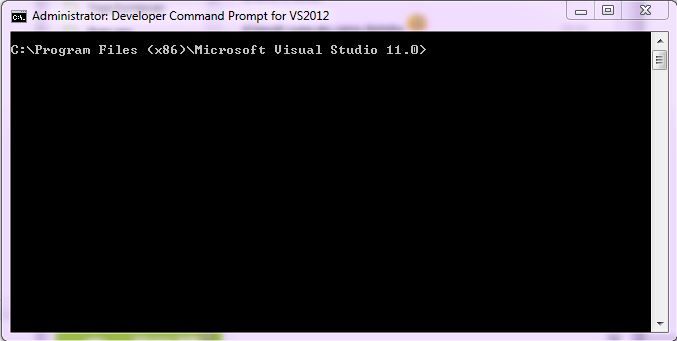
- From Start menu, open All Programs – Microsoft Visual Studio – Visual Studio Tools – Developer Command Prompt for VS.
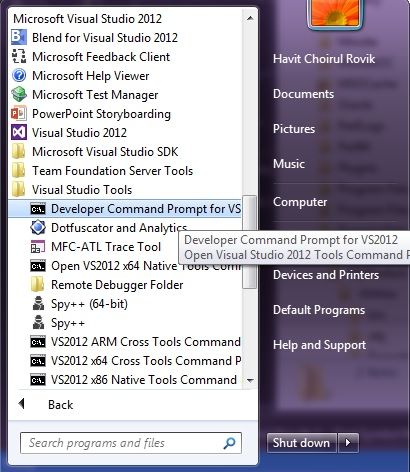
Sometimes, we need to run it as administrator, so we can install our .dll into GAC directory. - Developer Command Prompt for VS is opened.
- Type in: cd C:\Projects\MyProduct\Utilities\bin\Debug
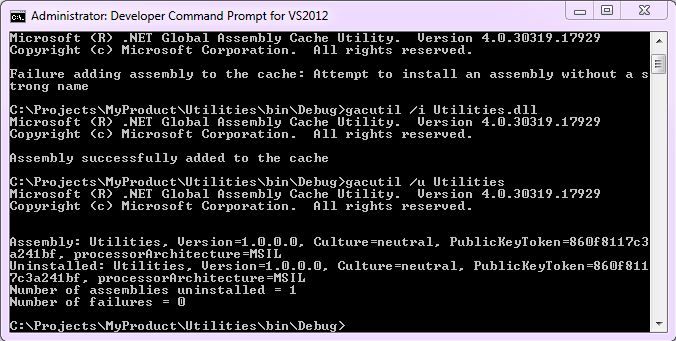
- Install Utilities.dll with command: gacutil /i Utilities.dll
- Ulala! Failure adding assembly to the cache: Attempt to install an assembly without a strong name.
Utilities.dll that we have created before doesn’t has strong name key. So we need to add this .snk things to our .dll.
- Open MyProduct solution again.
- Right click Utilities project and select Properties. Or you can just type shortcut Alt + Enter.
- Move to Signing tab. We can see Sign the assembly there.
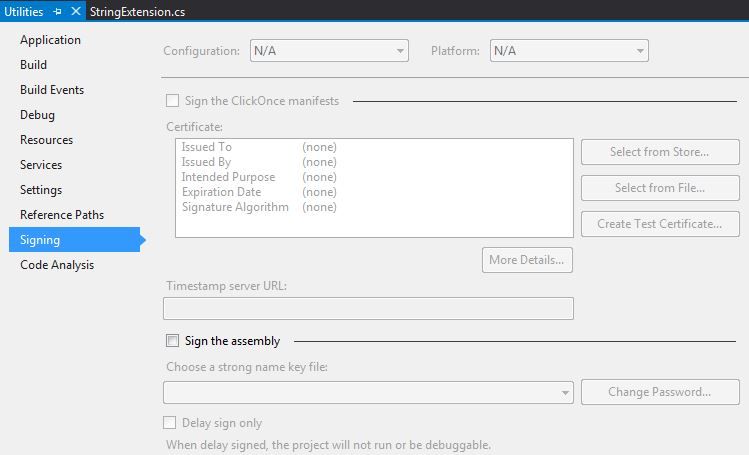
- Tick on Sign the assembly.
- In Choose a strong name key file, select <New…>
- Give a Key file name: MyProduct.
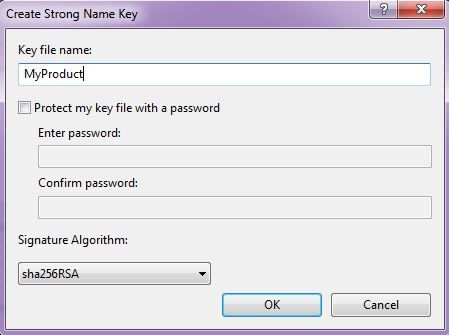
- For now, just uncheck Protect my key file with a password.
- Signature Algorithm: sha256RSA.
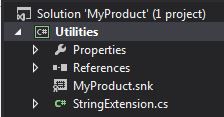
- Click Ok and MyProduct.snk has been created.
- Build the solution again ( Ctrl + Shift + B ).
- Open Developer Command Prompt for VS.
- Try to install the Utilities.dll once again: gacutil /i Utilities.dll
- DLL installation is succeed. Assembly successfully added to the cache.

Since the platform target of our project is Any CPU, our .dll will be located in
C:\Windows\Microsoft.NET\assembly\GAC_MSIL.

Just open the path via Windows Explorer and you can see Utilities.dll stays there. Try to change the platform target – build – and install again. If the platform target is x86, the .dll will be installed in GAC_32 or x64 to install it in GAC_64 directory.
Last, to uninstall Utilities.dll from GAC, use syntax: gacutil /u Utilities.
I think that’s all for Creating and Installing DLL to Global Assembly Cache. In next article, I’m going to share how to Create Installer using WiX technologies. So we can install or uninstall .dll from GAC without open Developer Command Prompt.
Leave a Comment